Cactus Surgeon In The Making
Performing Saving Graft
Using Cereus Rootstock
On A. Ornatum Kikko
Our Patient
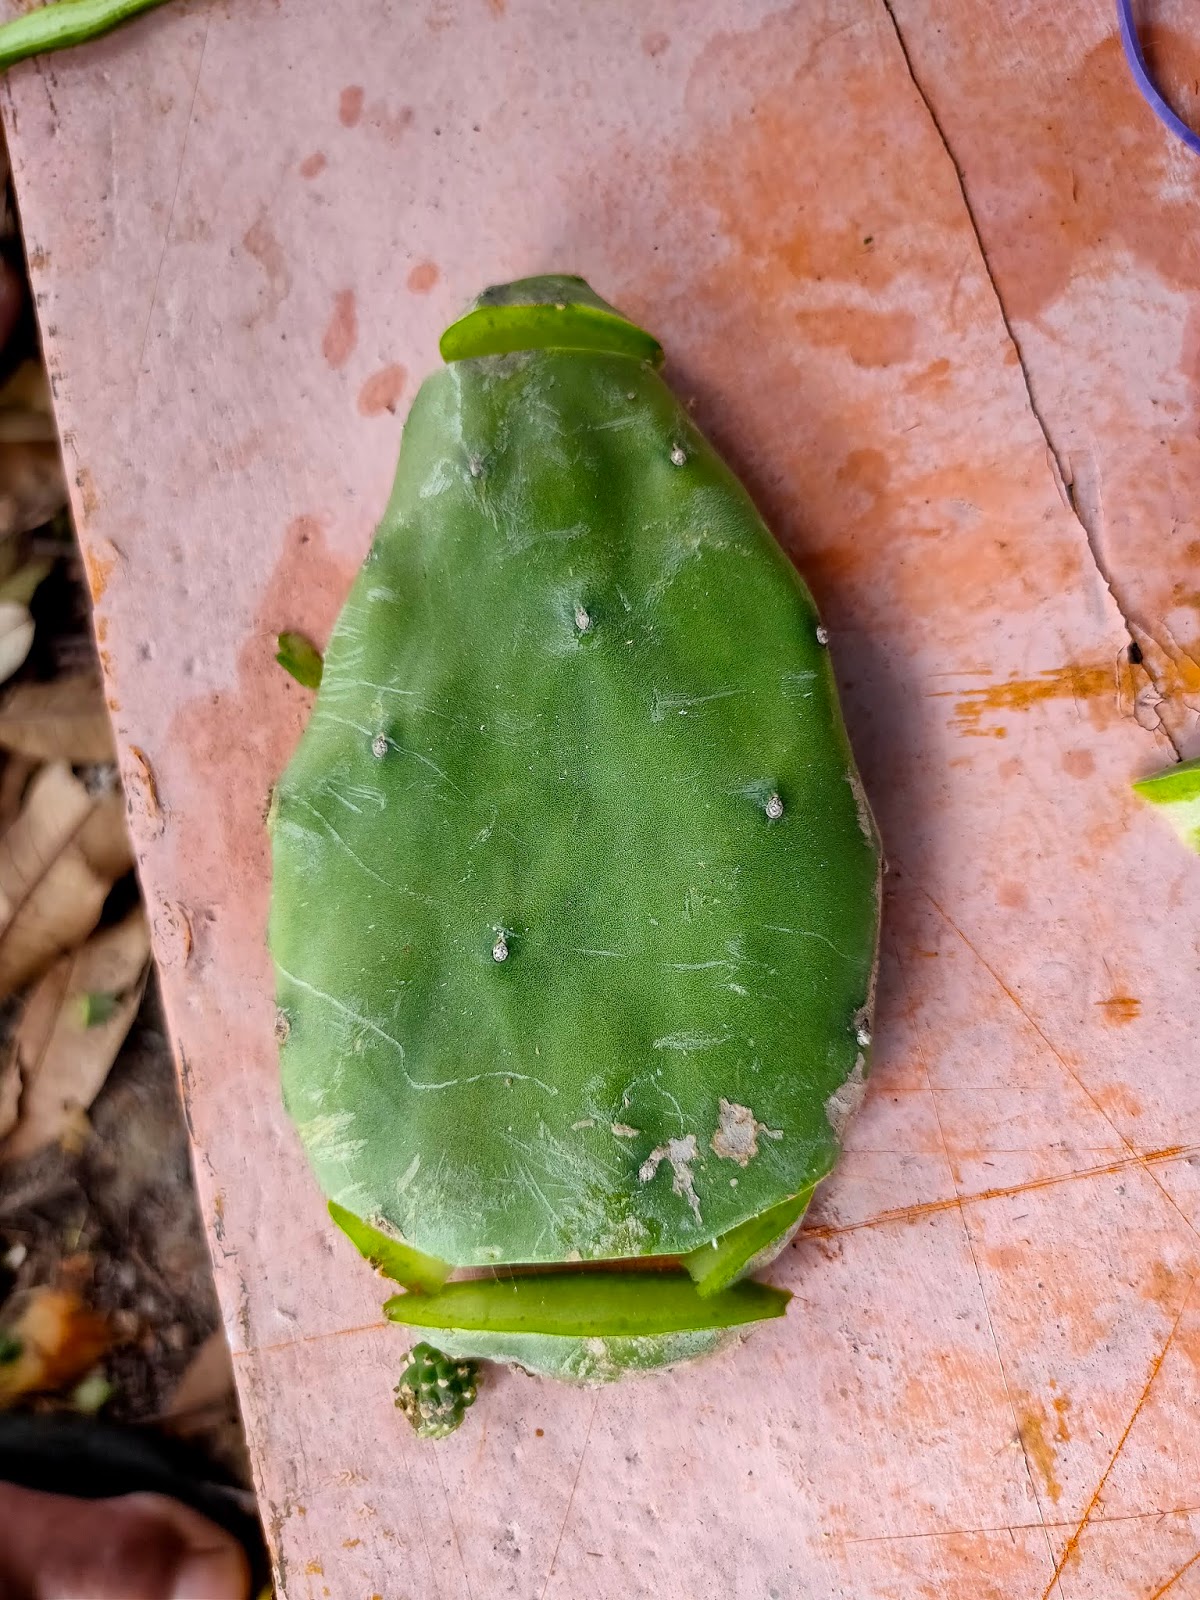
This is a degrafted and rooted newly bought Astrophytum ornatum 'Kikko'. It is not mentioned where the source of this cactus but from looking at the way it was grown, usually it came from either Taiwan or China.
It was a nice looking specimen sized ornatum 'Kikko' and I really wish to use it for breeding. But things get the worst turn possible, basal rot starting from the corking part of the ornatum. My best bet is that this guy is out of gas due to long shipment as it was not watered, only rooted in low moisture dirt. Plus, it is lighter than what I expect from this size of cactus.
Despites putting out lots of new root, it rot and leave me no choice but to perform saving graft using the unaffected ribs. The real challenges are performing graft using ornatum ribs and grafting using Cereus with skinny ribs.
In view of that, I would like to share how the whole process was performed.


Surgery Objectives
- To preserve the line of A. ornatum 'Kikko'
- To secure a good number of successful grafts
- To ensure the union lasts and not further affected by rain or fungus.
- To end with good scion growth and long lasting rootstock
Methodology
- Graft is perform on Cereus rootstock
- Rootstock is still on mother plant, removing the whole union and place it in the dark might increase success rate but I did not have the time to do so
- The union surface is increased by attaching scion vertically
- Scion is prepared to match flat surface on rootstock graft cut
- Scion is held using common grafting tape
- Potential water entry from the top is covered using grafting tape
Step 1

The only apparatus used. Rubber band and plastic wrap is not practical in performing quick and mass grafting with this kind of scion.
Step 2
I cut the top part of rootstock then made a vertical cut to greatly increase union surface. Another horizontal cut helps too in adding union surface plus will hold the scion in place.
I cut the top part of rootstock then made a vertical cut to greatly increase union surface. Another horizontal cut helps too in adding union surface plus will hold the scion in place.


Step 3
Cut the scion to match rootstock's vertical and horizontal cut


Step 4
Time to match the cut on both scion and rootstock. Make sure the scion is well matched with root stock that none of them is exceeding the top cut. This is to ensure that you can cover both using grafting tape later.
Time to match the cut on both scion and rootstock. Make sure the scion is well matched with root stock that none of them is exceeding the top cut. This is to ensure that you can cover both using grafting tape later.


Step 5
Usually I never stop once the tape is rolling, but for the sake of taking picture I stop right on where the tape is enough to hold the graft. Then I resume taping the whole thing like grafting fruit tree. As I made a vertical cut, they are prone to rain entry risk. Covering the top solve this, all left is to wait for result in a week or two.


Conclusion
I am totally used to cactus death and rot, so I made this critical decision with consideration on the failure risk and the expected result that I want. I would rather graft this scion than cutting the whole plant into a third of what is was and then risk rooting it. From my observation, cutting and rooting the ornatum posses greater risk as the core of it is weak and dehydrated compared to the ribs.
I will update the result on next week. Hopefully some of the took.
Thanks for reading and feel free to subscribe.